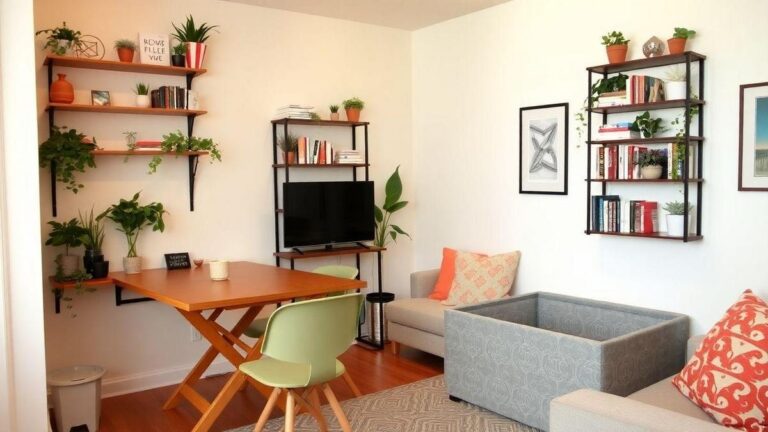
Budget-Friendly DIYs are the magic wand for anyone looking to transform their small space into a cozy haven. With just a few simple tools and a sprinkle of creativity, you can craft custom shelves and upcycle old furniture to unlock new possibilities. Stylish DIY dividers not only offer privacy but also add flair. In this article, we will explore fun and affordable ideas that solve real small space problems, making every nook and cranny work wonders. Get ready to dive into a world where imagination meets thriftiness!

Create Custom Shelves with Minimal Tools and Budget
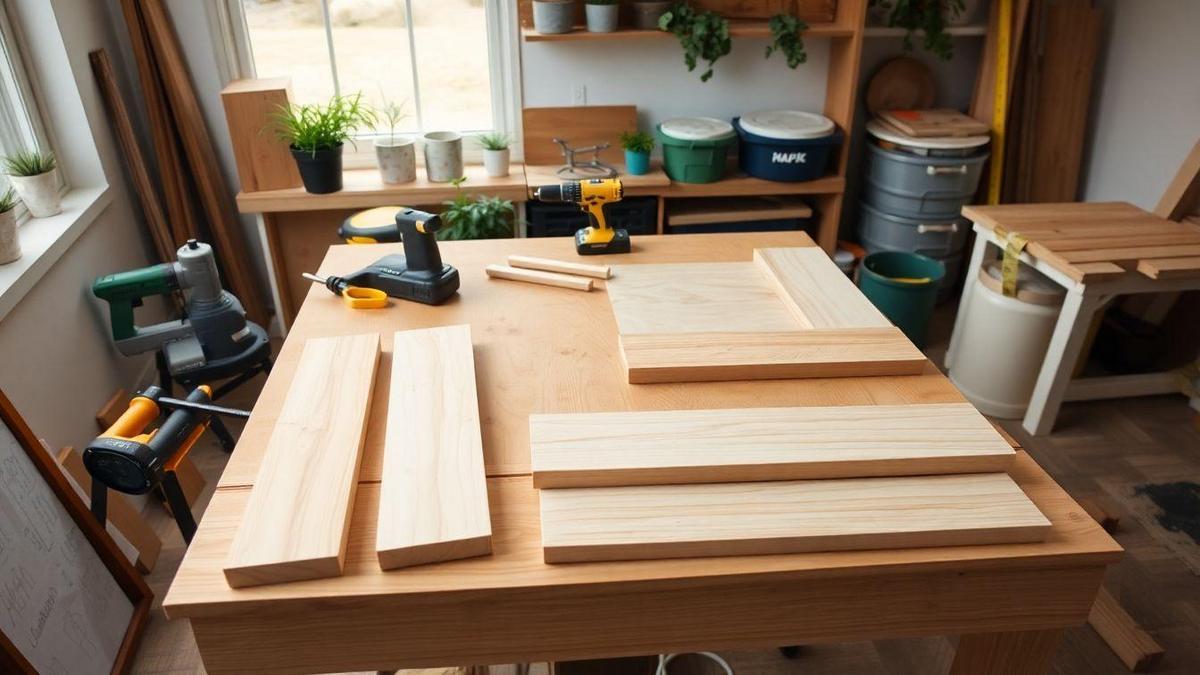
Creating custom shelves can feel like a mountain to climb, but with a little creativity and a few tools, anyone can transform their space. The beauty of Budget-Friendly DIYs lies in the simplicity and satisfaction of building something from scratch.
Gather Your Materials
Before diving in, it’s essential to gather the right materials. Here’s a quick list to get started:
- Wood Planks: Choose the size based on your needs.
- Brackets: These will hold the shelves up.
- Screws: To secure everything in place.
- Sandpaper: For a smooth finish.
- Paint or Stain: To add a personal touch.
Tools You Will Need
A few basic tools can make the process a breeze. Here’s what’s needed:
| Tool | Purpose |
|---|---|
| Drill | To make holes for screws |
| Screwdriver | To tighten screws |
| Level | To ensure shelves are straight |
| Measuring Tape | For accurate measurements |
Step-by-Step Guide
- Measure Your Space: Knowing where the shelves will go is crucial. Measure the area and decide how long and deep the shelves should be.
- Cut the Wood: If using larger planks, cut them down to size. Most hardware stores can help with this if you don’t have a saw.
- Sand the Edges: Nobody wants splinters! Sand down the edges of the wood for a smooth finish.
- Paint or Stain: Give the wood a fresh look. This step adds character and can match the room’s decor.
- Attach Brackets: Use the level to mark where the brackets will go. Then, drill holes and secure the brackets to the wall.
- Place the Shelves: Finally, place the wood on the brackets and secure them if needed.
Personal Touches
Adding personal touches can make these shelves truly stand out. Consider:
- Decorative Items: Books, plants, or photos can bring life to the shelves.
- Lighting: Small LED lights can add a cozy feel.
- Unique Arrangements: Try different layouts to see what looks best.

Upcycle Old Furniture for New Functionality
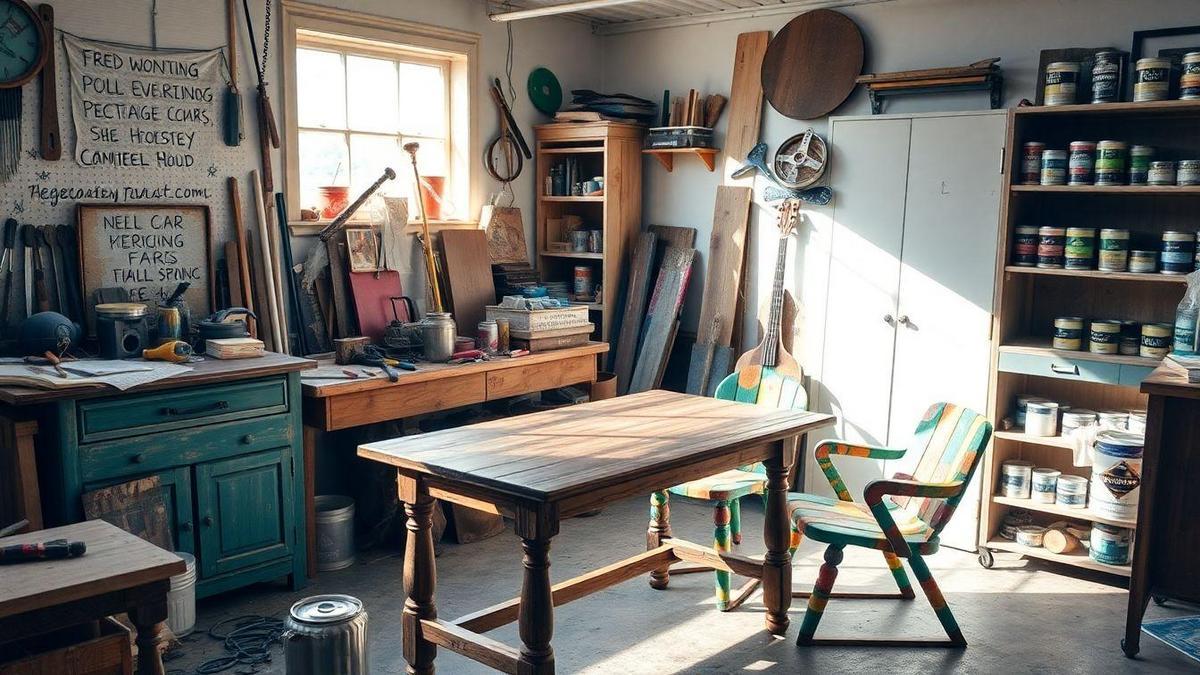
Upcycling old furniture can breathe new life into pieces that have seen better days. Instead of tossing them aside, you can transform them into something fresh and functional. It’s like giving a second chance to a beloved item that carries memories.
Benefits of Upcycling
- Cost-Effective: Upcycling saves money. Instead of buying new furniture, you can use what you already have.
- Eco-Friendly: It helps the environment by reducing waste. Every piece kept out of the landfill is a win.
- Personal Touch: Upcycled furniture can reflect your style. You can customize colors and finishes to match your taste.
Simple Upcycling Ideas
Here are some creative ideas to spark your imagination:
| Old Furniture | Upcycled Idea |
|---|---|
| Wooden Chair | Sand it down and paint it a bright color. Add a cushion for comfort. |
| Dresser | Turn it into a TV stand or a bar cart with a fresh coat of paint. |
| Old Door | Use it as a unique tabletop for a coffee table. Add some legs for support. |
| Crates | Stack them for a rustic bookshelf or use them as storage. |
Getting Started
- Gather Supplies: Collect paint, brushes, sandpaper, and any other tools needed.
- Choose a Design: Think about what you want the finished piece to look like. Sketching it out can help.
- Prep the Furniture: Clean and sand the piece to get it ready for a makeover.
- Paint or Stain: Apply the chosen color or finish. A little creativity goes a long way!
- Add Finishing Touches: New knobs, cushions, or decorations can complete the look.
Real-Life Example
Take your old wooden chair. It was scratched and faded, but with a little paint and a new cushion, it became a bright focal point in the living room. You felt proud every time someone admired it, knowing it was a Budget-Friendly DIY that added charm to your home.

DIY Divider Ideas That Offer Privacy and Style
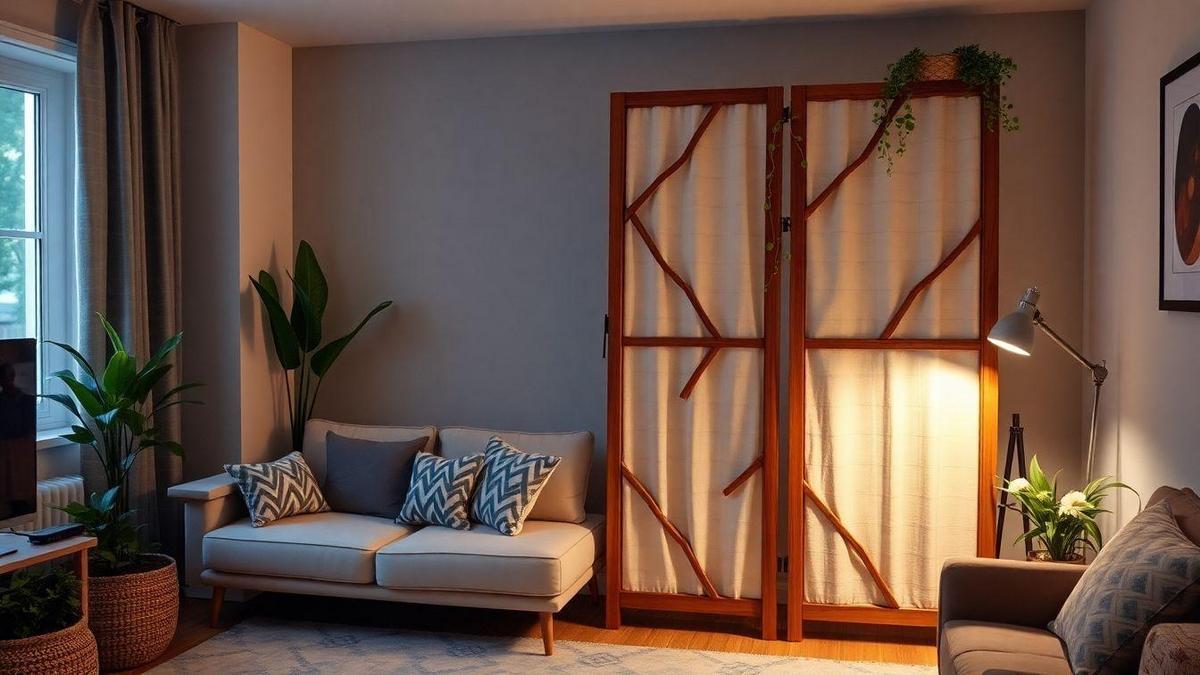
Creating a cozy nook in a shared space can feel like a puzzle. DIY dividers can help piece it all together. They provide privacy while adding a touch of style to any room. Here are some clever ideas to get the ball rolling.
1. Fabric Panels
Using fabric to create a divider is a fun and simple approach. Just hang a curtain rod from the ceiling and drape colorful fabrics. This method allows for easy changes; swap out the fabric to match the season or mood.
2. Bookshelf Dividers
Bookshelves are not just for books! They can act as a stylish barrier. Place a bookshelf between two areas to create a cozy reading corner or separate a workspace. Fill it with books, plants, or decorative items to make it visually appealing.
3. Potted Plants
Plants can do wonders for privacy. Tall plants like fiddle leaf figs or snake plants can be placed strategically to block views. This option adds life and freshness to the space while keeping it private.
4. Reclaimed Wood
For a rustic look, consider using reclaimed wood. Create a slatted screen by attaching wooden planks to a frame. This adds character and warmth to any area. It’s also a great way to recycle materials!
5. Artistic Screens
Why not turn art into a divider? Create a screen by attaching lightweight panels to a frame. Paint or decorate these panels to reflect personal style. This adds a personal touch while serving a practical purpose.
6. String Lights and Tulle
For a whimsical feel, hang tulle from the ceiling and drape string lights throughout. This creates a dreamy atmosphere, perfect for a bedroom or cozy corner. It offers privacy while being visually stunning.
7. Sliding Barn Doors
For those who want a bit more flair, sliding barn doors can be a fantastic addition. They are stylish and can be customized to fit any space. Plus, they can be closed for privacy and opened when not needed.
8. DIY Folding Screens
Folding screens are versatile and can be made from various materials. Use cardboard, wood, or even old doors. Paint or cover them with fabric to match the décor. They can be easily moved and stored away when not in use.
| DIY Divider Idea | Materials Needed | Style |
|---|---|---|
| Fabric Panels | Curtain rod, fabric | Soft and colorful |
| Bookshelf Dividers | Bookshelf, books, decor | Functional and stylish |
| Potted Plants | Tall plants | Green and fresh |
| Reclaimed Wood | Wooden planks, frame | Rustic and warm |
| Artistic Screens | Lightweight panels, paint | Personal and unique |
| String Lights and Tulle | Tulle, string lights | Whimsical and dreamy |
| Sliding Barn Doors | Barn door, tracks | Modern and chic |
| DIY Folding Screens | Cardboard/wood, paint/fabric | Versatile and movable |
Conclusion
In the realm of small space living, Budget-Friendly DIYs serve as a beacon of hope, illuminating the path to creativity and practicality. With a dash of imagination and a few essential tools, anyone can transform their environment into a cozy retreat. Whether it’s crafting custom shelves, upcycling old furniture, or creating stylish dividers, the possibilities are as endless as the sky. Each project not only enhances the aesthetic but also adds a personal touch that speaks volumes about one’s character and taste.
So, as you embark on this journey of transformation, find joy in every brush stroke and nail driven home. Together, create spaces that are not just functional but also a reflection of your unique stories. With every DIY project, breathe life into your small haven, proving that the heart of a home lies in the details.
For those eager to dive deeper into the world of creative small space solutions, there’s a treasure trove of ideas waiting to be uncovered. Explore more articles at Simple Small Space Living and let the adventure begin!